LG Dryer Vent Cleaning Cost
LG dryers are known for their efficiency, but regular maintenance is crucial to ensure optimal performance and safety. One essential aspect of maintenance is cleaning the dryer duct. Over time, lint and debris can accumulate in the duct, posing a fire hazard and reducing the dryer's efficiency. In this guide, we'll walk you through the steps of cleaning the duct of your LG dryer.
Signs It's Time to Clean the Dryer Duct
- Longer Drying Times: If your clothes are taking longer to dry than usual, it could be a sign of restricted airflow due to a clogged duct.
- Excessive Lint Around the Dryer: If you notice an accumulation of lint around the dryer or in the lint trap, it's an indicator that the duct needs attention.
- Burning Smell: A burning smell while the dryer is running can suggest lint buildup in the duct, increasing the risk of a fire.
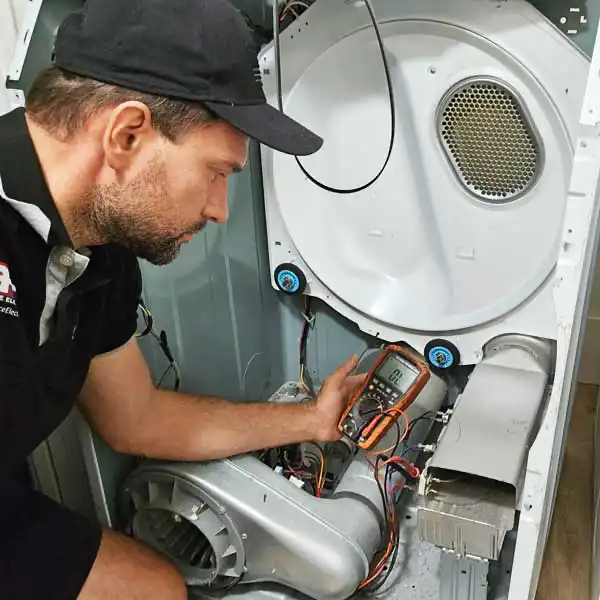
Tools and Materials Needed
- Screwdriver
- Vacuum Cleaner with Nozzle Attachment
- Dryer Duct Cleaning Kit (Optional)
- Safety Gloves
- Face Mask
Step-by-Step Cleaning Process
- Safety First
- Unplug the Dryer: Before starting the cleaning process, ensure that the dryer is unplugged from the power source to eliminate any electrical hazards.
- Turn Off Gas Supply (If Applicable): If your LG dryer is gas-powered, turn off the gas supply as an extra safety precaution.
- Access the Dryer Duct
- Pull the Dryer Away: Gently pull the dryer away from the wall to access the back panel.
- Remove the Vent Clamp: Using a screwdriver, loosen the clamp securing the vent to the dryer.
- Disconnect the Vent: Detach the vent from the dryer to access the duct.
- Clean the Lint Trap and Vent
- Lint Trap: Remove and clean the lint trap, ensuring there is no lint accumulation.
- Vent Opening: Use the nozzle attachment of the vacuum cleaner to remove lint from the vent opening on the back of the dryer.
- Clean the Dryer Duct
- Manual Cleaning: If you don't have a dryer duct cleaning kit, use a vacuum cleaner to manually remove lint from the duct. Ensure the vacuum's nozzle reaches as far as possible.
- Dryer Duct Cleaning Kit (Optional): If available, use a dryer duct cleaning kit that typically consists of flexible rods and brushes to thoroughly clean the duct. Follow the kit instructions for optimal results.
- Clean the External Vent Cover
- Locate the External Vent: Find the vent cover on the exterior of your home.
- Remove Debris: Clear away any debris, such as leaves or lint, from the external vent cover.
- Reassemble and Test
- Reconnect the Vent: Attach the vent back to the dryer and secure it with the clamp.
- Plug in the Dryer: Plug the dryer back into the power source.
- Test Run: Run the dryer on a short cycle to ensure proper airflow and ventilation.
FAQs (Frequently Asked Questions)
- Q1: How often should I clean my LG dryer duct?
- Q2: Can I use compressed air to clean the dryer duct?
- Q3: Why is cleaning the dryer duct important?
A1: Cleaning the dryer duct is recommended at least once a year. However, if you notice any signs of reduced performance, more frequent cleaning may be necessary.
A2: While compressed air can be effective, it may push lint further into the duct. It's generally safer to use a vacuum or a dryer duct cleaning kit for thorough removal.
A3: Cleaning the dryer duct prevents lint buildup, reduces the risk of fire, and ensures efficient drying by maintaining proper airflow.
Conclusion
Regular cleaning of your LG dryer duct is a simple yet vital maintenance task. By following these steps, you contribute to the safety and longevity of your appliance. Remember to prioritize safety and perform this maintenance task annually or more frequently if needed.
